HUAWEI B220 3G WiFi Router is the upgraded version of HUAWEI B200 3G gateway. It looks like HUAWEI E960 3G Router, but it has external antenna connector. Its functions are like HUAWEI B970B HSDPA WiFi Router, they both supports HSDPA 7.2Mbps and 32 users could share network at the same time.

 I have mentioned two main methods to unlock your Huawei Router, You can use either one of method as your convenient.
Please follow below Steps to unlock your Huawei Router.


========Using Huawei Router software============


o1.Make sure your Router is Charged
02.Insert a SIM Card from a different operator in to your Locked Router.
03.Switch the Router on.
04.Try To Connect internet or Browse any website and you will be redirected to 192.168.1.1/simlock.asp
05.A prompt will open asking for the unlock code
06.Enter unlock code & Click on 'Ok' Button.
07.Your Router is now unlocked.
--------OR----------
o1.Make sure your Router is Charged
02.Insert a SIM Card from a different operator in to your Locked Router.
03.Switch the Router on.It will display “Invalid SIM”
04.Now Establish a WiFi connection to the device with your PC/IPAD/IPHONE/Android Device.
Below mentioned the main two way of entering  'unlock Code' to your Huawei Router, You can use either one
Using 192.168.1.1/simlock.asp

01.Try To Connect internet or Browse any website and you will be redirected to 192.168.1.1/simlock.asp OR type on the web browser as “192.168.1.1/simlock.asp”
02.A prompt will open asking for the unlock code.
03.Enter unlock code & Click on 'Ok' Button.

log in to your device’s dashboard

 01.Access and log in to your Router’s dashboard at http://192.168.1.1 or http://pocket.wifi.
02.Then go to Advanced Settings -> SIM Settings  -> Unlock Device OR Open your Settings – > Dial-up -> Unlock SIM card.
03.Enter Unlock Code & Click on 'Ok' Button.
04.Your Router is now unlocked.


====Using Unlock code Writer Software=====

01.Download Huawei Router Unlock code Writer Software.


Click here to Download Huawei Code Writer From Dongle.lk
 
                                              -- - OR--
  Click Here to Download Huawei B220 Code Writer From Dongle.lk

02.Connect the Router to Computer Via USB cable .
03.Now let it launch the software of the Router(make sure your Router driver is installed to the PC).
04.Now close every thing which is related to your router
04.Run the downloaded Modem Unlock code Writer Software.
05.Detect your Huawei Modem into the Unlock code Writer Software.
Please Note:If the unlock code Writer Software has correctly detected the modem it will show the IMEI number.
 07.Enter unlock code in to"Unlock Code(6-8 digits)" OR "Password"
08.Click on 'Ok' Button.
09.Your Router is now unlocked.


Don't Enter Wrong Code! Unlock Your Router With Our Guaranteed Unlock Code! 100% Working...Contact Via Email
price: 10 gh
Email: Remedymultimedia.tk

whatsapp +233 249491967

If you want Bulk unlock code Contact Via Email. we will give Best price for you!


Hack With USB DRIVE
Making an Auto-Hacking USB Drive

You need two things:
1) A USB Drive devoted to this
2) The programs and files that I will show you how to make or where to get. If you have trouble making the two files that I show you how to create, they can be downloaded at the end of the Instructable.

OK GUYS!!!!!
THIS AUTO-HACKING USB DRIVE SIMPLY CONTAINS APPLICATIONS THAT RECOVER PASSWORDS AND SUCH. STOP LEAVING POSTS ABOUT HOW YOU DON'T UNDERSTAND WHAT GETS HACKED.
A Brief Explanation
OK. If you are looking for an Instructable that will teach you how to hack the Pentagon with a 2GB USB Drive, look somewhere else. This Instructable uses a batch file, an autorun file, and downloaded programs.

The Autorun File

So. Here we go. We will start with the Autorun file.

This file is the one that makes the pop-up window when you plug in the USB Drive. You can use this on any USB Drive, even if it has U3 on it.

Open Notepad (I'm using Notepad++) and type the following:

(autorun)
label=(Name you want the drive to have)
icon=(Icon file).ico
open=(Batch file we will make later).bat
action=(What you want the action to be)

MAKE SURE YOU DO NOT TYPE THE ()'s! Where it says (autorun), replace the parentheses with brackets (the buttons to the right of the "p" key on the keyboard. USE THE BOTTOM BRACKETS, NOT THE TWISTY FRENCH BRACKETS!)

Save this file as Autorun.inf

Make sure that you save it immediately inside your USB Drive, not inside any sub-folders (My Computer, Autohax0r).

Also, I have used an icon (an .ico file), so the USB Drive will have a different picture than the boring standard picture. To get one of these, I advise going to http://www.iconarchive.com/ to get an .ico file (you have to specifically download it as .ico). If you do this, save the icon in the same place as the Autorun file.

The Batch File

We will now make the batch file that starts all the "hacking programs." MAKE SURE YOU NAME IT THE SAME AS WHAT YOU CALLED IT IN THE AUTORUN FILE!

Type this into Notepad:

@echo off
title KTX
start .\Applications\FOLDER\APPLICATION.exe
start .\CommandLine\Process.exe -k TermX.exe
start .\CommandLine\Process.exe -k WinVNC.exe
pause
goto eof

I will explain the commands used:
@echo off: Makes it so the file pops-up without showing the commands. Makes it look more professional.

title: Makes a title at the top of the batch file.

start: If you can't figure this one out, you should not be reading this Instructable.

pause: Pauses the file, waits for you to press any button.

goto: Sends the file to a different part of the script.

eof: End of file.
Also, TermX.exe is a program that my school uses to keep us out of certain websites. IT IS NOT THE FIREWALL. For info on WinVNC.exe, go tohttp://www.processlibrary.com/directory/files/winvnc.

Where it says \FOLDER\APPLICATION, you will change this in two steps.

Save this as KTX.bat, and place it in the same place (directory) as the Autorun.inf file.

The "Hacking" Programs

Ok. We are now going on to the actual hacking programs. Go tohttp://www.nirsoft.net/, and browse the programs. If you have any different websites or programs, feel free to use them. I am using SniffPass, LSASecretsView, and WirelessKeyView. Install them, and place them and the folders they create in the same directory as all the other stuff.

Your computer might identify some as viruses, but don't worry. It only does this because some programs can find certain passwords.

Also, you might notice that I have a folder called "CommandLine." This is a VERY useful program, and can be downloaded at http://www.beyondlogic.org/solutions/processutil/processutil.htm. There is also a hearty description at this page.

Modifying KTX.bat
It is now time to go back to KTX.bat (by the way, remember that TermX.exe thing I mentioned? Well, KTX stands for "Kill TermX". Feel free to change the batch file name to whatever you want, just MAKE SURE TO ADJUST THE AUTORUN FILE, TOO!).

Go to the part of the Autorun file where it says "start .\Applications\FOLDER\APPLICATION.exe". You are going to change this. Also, add or subtract as many of this line as you need. If you have three programs to run, you need three lines of this code.

First, create a folder in the same place as the Autorun and KTX files, and name it Applications. Drag all the folders that contain the hacking programs into the Applications folder. You should come up with a directory like this:
"My Computer\AutoHax0r\Applications\HACKING FOLDERS HERE (with programs inside the folders)"

All Finished!
Ok. This is the end of the tutorial. You should have the Autorun.inf file, the KTX.bat file, and some hacking files of your choice. To work the magic of the Auto-Hacking USB Drive, just unplug the drive in question and plug it back in. If it doesn't work, you did something wrong, because I told you how to do it right. Either that, or you have strange computer settings.

If you are confused as to how to make the batch file or the Autorun file, download them here.


http://www.instructables.com/files/orig/FEB/JDAP/FLKJYGAK/FEBJDAPFLKJYGAK.zip


Author : DiLshad Sys
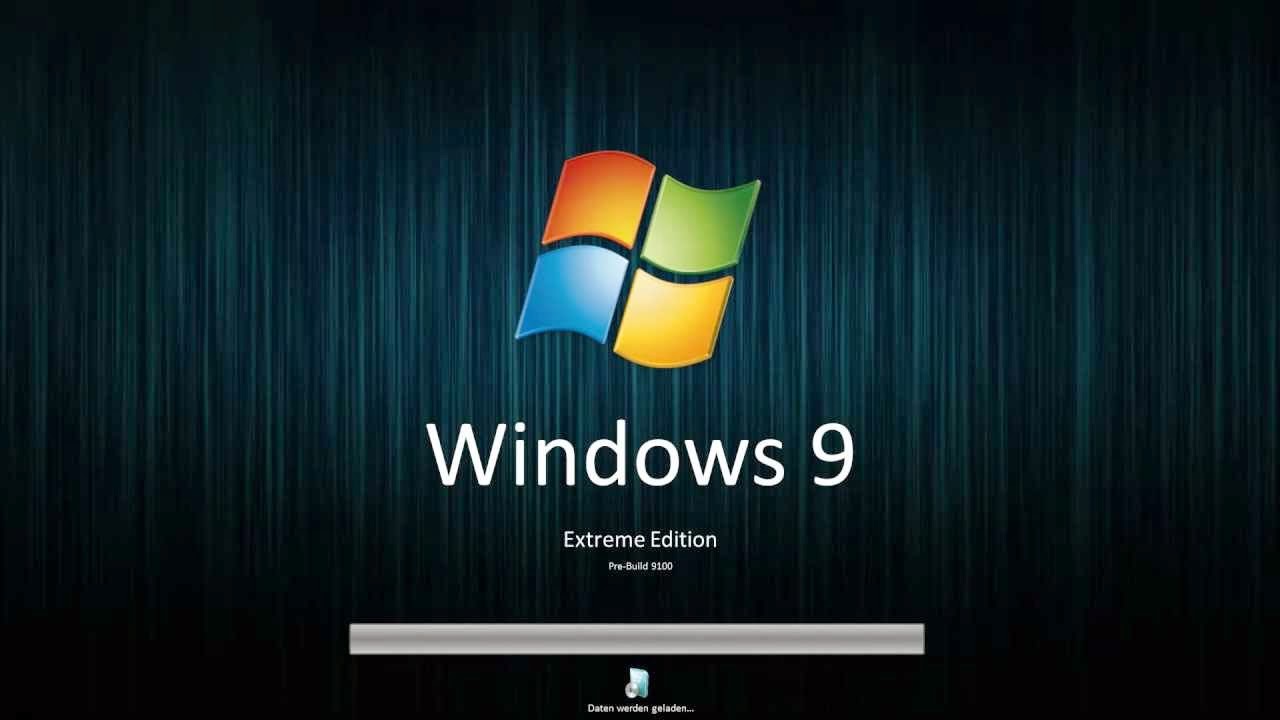
Code Name : Windows 9 Edition
OS Name : Windows 9 Professional
Architecture : 64-bit
Language : All-German (Germany) ,English (United States) ,Spanish (Spain) ,French (France) ,Italian (Italy) ,Portuguese (Brazil)
Version : 6.1.7601.18229
Service Pack : 1
Applications : 40 New Apps included
Tested : Tested on Intel DC,C2D,i3,i5,i7,AMD CQ,Athlon,Sempron
OS Size : 4.3GB
Software Size : 500MB
ISO Size : 5.06GB
License : 30 day evaluation copy
Update Inc : March 2


Note : THIS IS NOT A PIRATED WINDOWS 7 OPERATING SYSTEM.
(i.e NO PATCHES OR CRACKS OR KEYS INCLUDED IN THE DVD)


Minimum Requirement

Processor

-2 GHz or faster processor

Memory

- Recommended 1GB RAM

Hard disk space

- 20 GB

Media drive

-DVD/CD authoring requires a compatible optical drive


Video card

-DirectX 9 graphics processor with WDM 1.0 or later driver


Software
- Adobe Reader 11.4
- Adobe Flash Player 12.0.235
- Adobe Flash Player ActiveX 12
- Aimp Player 3.55
- Autorun Virus Remover v3.3
- Boot Screen Win9 By DiLshad Sys
- Bit Torrent 7.8.2 Build 30417
- CCleaner Professional 4.08.4428
- CPU-Z 1.68
- DirectX32
- FileZilla FileZilla 3.8.0
- Firefox 28 Final
- Glary Utilities 4
- GOM Player 2.2.57.5189
- Hotspot Shield 3.37
- Internet Explorer 11 Final X64
- Internet Download Manager 6.12 Final
- Java Runtime Environment 1.7.0.45
- K-Lite Codec Pack 10.15 (Full)
- .NET Framework Version AIO
- Notepad++ 6.5
- Microsoft Silverlight 5.1.10411.0 Final x64
- Skype 6.11.0.102
- Team Viewer 9
- Ultra ISO 9.8.1
- USB Disk Security 6.2.0.432
- USB Safely Remove 5.2 Final
- VLC Media Player 2.1.3
- Visual C++ 2005 Redis
- Visual C++ 2005 SP1_Redis
- Visual C++ 2008 Redis
- Visual C++ 2008 SP1 Redis
- Visual C++ 2010 Redis
- Visual C++ 2012 Redis
- Winrar 5.0


Screen Shot


What's Removed

- None


Gadgets

- 10

Themes

- 12 New Themes


Whats' New??
- Boot Win 9 Edition
- New Eye catching themes
- New icon sets
- New Sound schemes
- New Registry settings
- Hang time ratio improved
- Added best shortcut styles
- Improved application interface
- Added RUN on start menu
- Add change theme
- Add change wallpaper
- Add desktop icon settings
- Advanced user accounting
- Clear type view
- Copy to Move to on right click
- Disable Autorun Drive
- Disable UAC
- Disable Tool Tips
- Disable Hibernate
- Don't mark new applications
- On Right Click Freeware Sys
- Enable AVALON effects
- Enable Clear Type Tuning
- Enable DVD in media player
- Enable Glass Effect(WDM) without graphics card
- Enable MP3 Encoding on right click
- Enable slow motion windows effects
- Enable status bar in notepad
- Get rid of windows mail splash
- Give your self permission to modify all
- Grant full admin control
- DiLshad Sys Site direct link from right click (Firefox needed)
- Removed Action center Icon
- Windows speed tweaking
- Wait to kill service - 2000
- Low level hooks time out - 1000
- Hang application time out - 1000
- Menu show delay - 0
- No low disk space warning
- Process Schedule 1st Program
- Mouse Speed Increased
- Hang Ratio Decreased
- Fast Shut Down And Login
- Down Power After Shut Down
- Touch Screen Feature Added
- Grant Admin control on Right Click
- Add Admin Tools on Desktop Context Menu
- Add manage on Desktop Context Menu
- Add Move to Folder on Desktop Context Menu
- Add Copy To Folder on Desktop Context Menu
- Add Task Manager on Desktop Context Menu
- Add Take Ownship on Desktop Context Menu
- Add Register and Unregister to .dll OCX Context Menu
- 500ms Delay Aero
- Larger Taskbar Previews
- Removed Action center icon
- small Taskbar Icon
- Removed mail Splash
- Detailed Shut Down And Login
- Blocked Negative DNS Entery
- turn Off System Beep
- Turn off low Disk


                                        DOWNLOAD WINDOWS 9 FOR FREE


Credit Section:


- Thanks to Chris,Drew Bond,Edward VanEss.

- Thanks to all who have helped me and encouraged me.

Note: is a torrent file so you need to download Utorrent for free if you dont have one


Firmware is nothing but the program code which contains of the control program for the devices. They may be permanently installed on the device or update able
As we know we can unlock some Huawei modem by updating or downgrading (Flashing) the firmware, In this article I will discuss on same.

Firmware Upgrade Files Downloading


you can download the firmware upgrade file from the our Huawei Firmware Portal.

•    Go to http://huaweifirmwares.com
•    Select your model number from list and download the file

 Firmware Upgrade Procedure:-


1.    Open the firmware upgrade file you have downloaded by double clicking on it
2.    As you open the firmware upgrade file you can see the terms and condition tab kindly select the I Agree and click on Next.


3.    Then it will search for the modem and  port , you can check following process.


4.    As it find the port and model details you can see the conformation tab kindly select the next


5.    After conforming it will show following warning window click on next.


6.    Your Firmware is updating kindly wait until the process complete (Interrupting the process may damage your modem permanently ).


7.    As process completed you can see the success message.


Note:- If it will ask password during the update you have to provide the FLASH Code generated by IMEI

Firmware Upgrade Error:-

Probably you can get following error during the firmware upgrade
Solution :-
If you are getting this kind of error it means your modem is not properly connected or your dashboard is open so kindly close the dashboard and read following article

Don’t Enter Wrong Code! Unlock Your Router With Our Guaranteed Unlock Code! 100% Working…Contact Via EmailEmail:RemedyMultimedia@gmail.com
price:2.38$


Unordered List

Popular Posts